

In Create Permissions, you set up the form for creating a new Transaction or record in a Definition – which fields have to be filled in, who can fill them in, and what happens once everything is filled in. Let’s have a look at how it works:
General setup
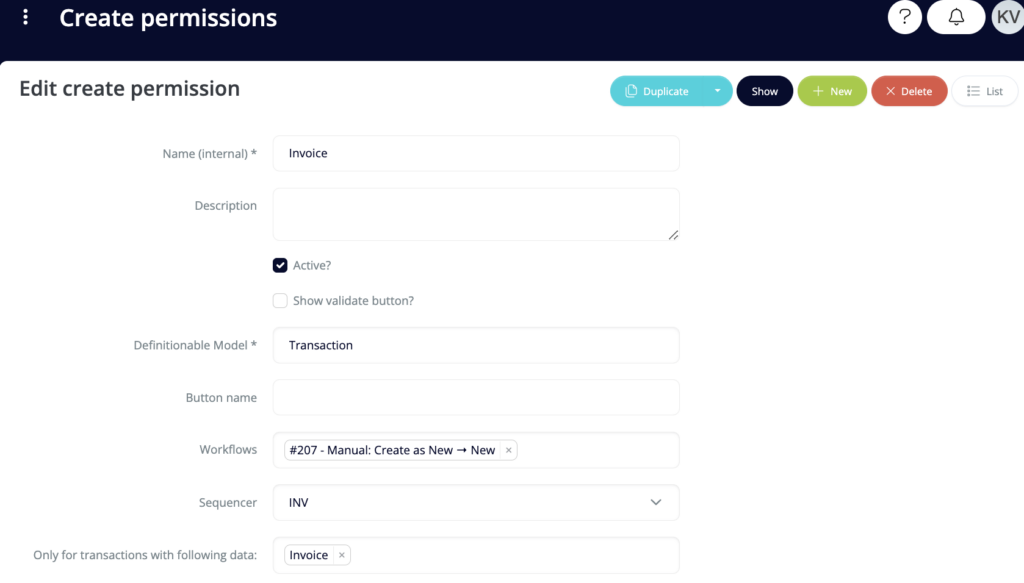
Name (internal) – mandatory, just an internal name for this particular form that will make the administration of all Create Permissions readable for other administrators
Description – optional, to further describe the purpose of these Permissions for other administrators to better understand
Active? – if not checked, the form will not be available to Users
Show validate button? – a button that will run all the validations and callbacks before saving the Transaction
Definitionable model – mandatory, choose among the options – if you want this to be a form to create a new Transaction, or a new record in any of the Definitions
If you chose Transaction, you will need to fill in the following information:
Button name – what should be written on the button that submits the Transaction once you fill in all the necessary fields
Workflows – which Workflow should be run once you submit the Transaction. Only manual Workflows are available. If you did not fill in the Button name above, the Action label of here selected Workflow will be used on the button
Sequencers – which Sequencer should be given to this Transaction after you submit it
Only for transactions with the following data – select the Transaction Type for which this form will be available
Fields setup
In this section, you will design what the form looks like. You can add new tabs, rows, columns, sections, and fields.
First, you need to add a tab by clicking on the big ‘plus’ button. Then you need to add at least one new row by clicking on the plus icon on the right side of the screen. Then you have to add a new column by clicking on the ‘+ Add column’ icon, then ‘+ Add section’, and then, finally, you can add new fields by clicking the ‘plus’ icon on the right side of the screen. You can add as many tabs, rows, columns, sections, and fields as needed.
Once you have all the desired fields set up, you can set additional options for each of them – they are further described in our Data types articles.

Additional setup
And user is in group – which Groups of Users are allowed to see and submit this form. If no Group is selected, all of the Groups will be given the Permission
Model callbacks – if certain action that is coded in Model Callbacks should happen after submitting the form
Transaction form behaviour configurations – if a Form Behaviour is set up, add it into this section for the form to work properly
And what happens after you submit the form? Read our next article to learn how to set up who can see the created transaction and what will they see there.

