In the Data Exports tab, the User can see a list of all reports available which were set up to be located in the Data Exports tab. They have to be first set up in Data Exports Configuration – what type of report it is, who can access it, what kind of data it contains, and so on. Moreover, the admin can also see the link to all scheduled Data Exports for all Users.
Where to Find Created Data Exports
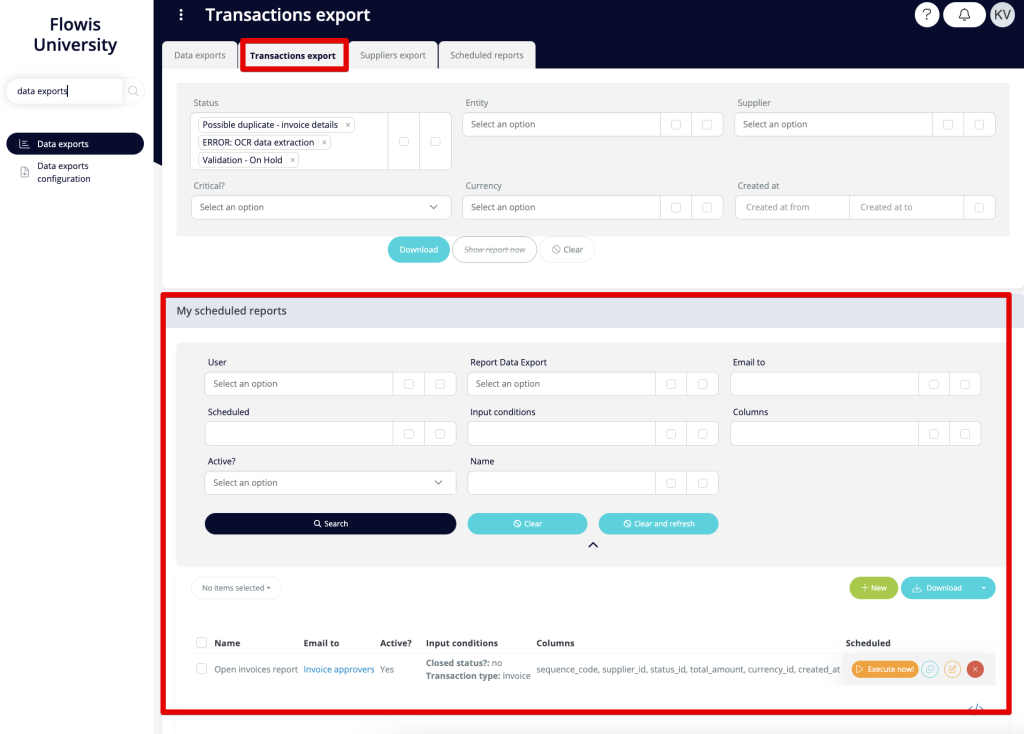
When you open the Data Exports tab from the left menu, you will see a list of available Data Exports – each tab contains a separate report available to the User that is currently signed in. You can approach these Data Exports simply by clicking on the tab with the name of the Export you want to use, or you can navigate among them in the top bar – here you can also see the list of all available Data Exports and open any of them. The administrators can also see the “Scheduled reports” tab with scheduled reports for all Users.

After opening any of the Data Exports, you will see a filter at the top which will help you to further specify what kind of data you want to export. After setting every desired specification to the filter, you need to press the Download button and the Data Export will be sent to the e-mail address that is linked with your Flowis account. The link to the Data Export will also be shown in the notification that appears in the top right corner for a few seconds.

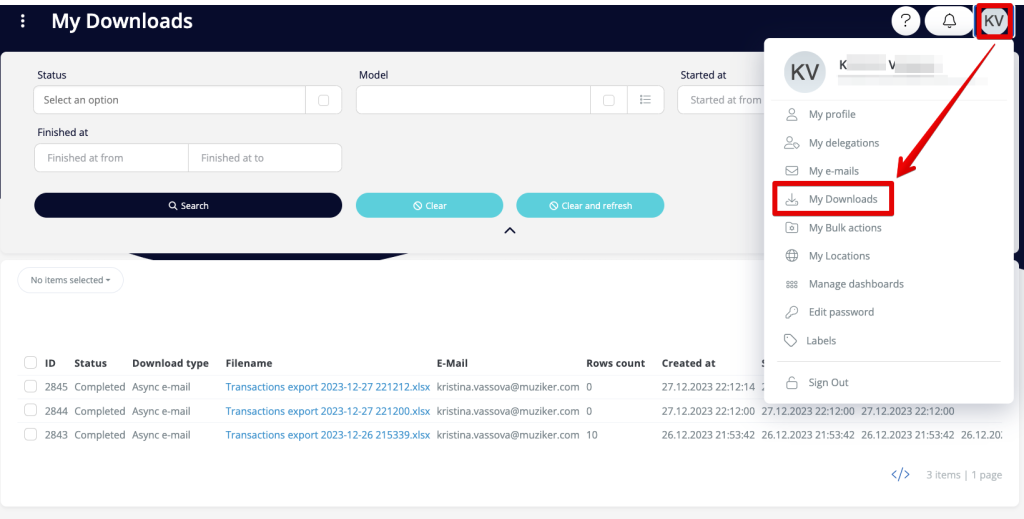
You can approach the downloaded Data Export directly in Flowis whenever you need – just click on your profile photo in the top right corner, select “My downloads” and then choose the export you need to work with.
How to Schedule a Data Export
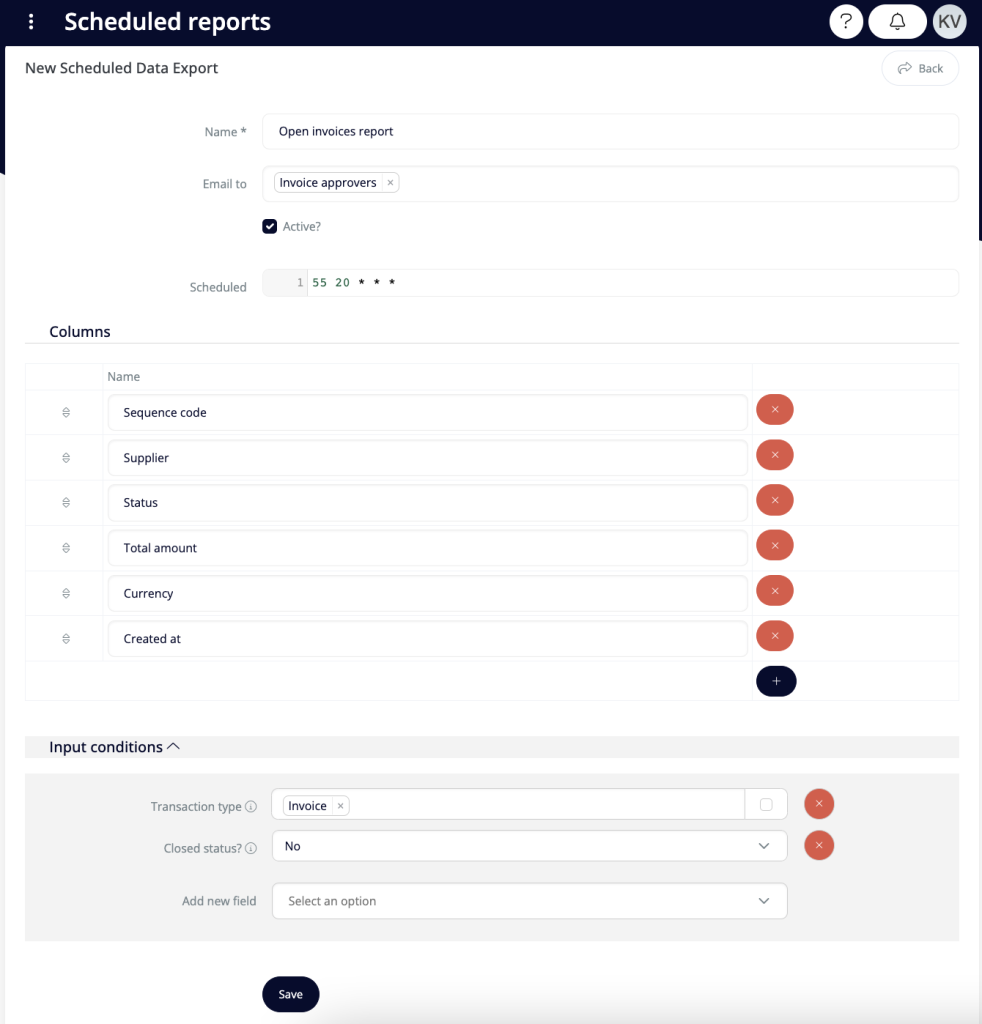
After opening any of the reports in the Data Exports tab, you will see a section named “My scheduled reports” at the bottom of the screen. Here you can create new scheduled reports that will be automatically sent to desired Users at predefined time. Simply click on the “+New” button and then set up:
- Name – name of the report, should be short and self-explanatory
- Email to – select Users or roles that should receive this scheduled report
- Active? – only reports marked as active will be sent out
- Scheduled – the schedule written in cron time expressions – use for example the https://crontab.guru/ website to help you write the correct expression
- Columns – select which columns should be contained in the report
- Input conditions – only records that meet here set conditions will be contained in the scheduled report
After saving the scheduled report, you will see it in any of the Data Export tabs with a quick overview of the setup. You can also click the “Execute now!” button which will send the report to its recipients immediately.
Scheduled Reports
This tab is visible only to administrators. Here they can see all reports that have been scheduled and the details, such as the recipients of the report, input conditions, columns, or scheduler. The administrators can activate or deactivate these reports (using the Bulk action), edit them, delete them, or execute them immediately.